Slack
The Slack Notification Service in Buildkite lets you receive notifications about your builds and jobs in your Slack workspace.
Configuring a Slack notification service will authorize access for your desired channel. By default, notifications will be sent to all configured Slack channels.
Setting up a Notification Service requires Buildkite organization admin access.
Adding a notification service
In your Organization's Notification Settings, add a Slack notification service:

Click the Add to Slack button:

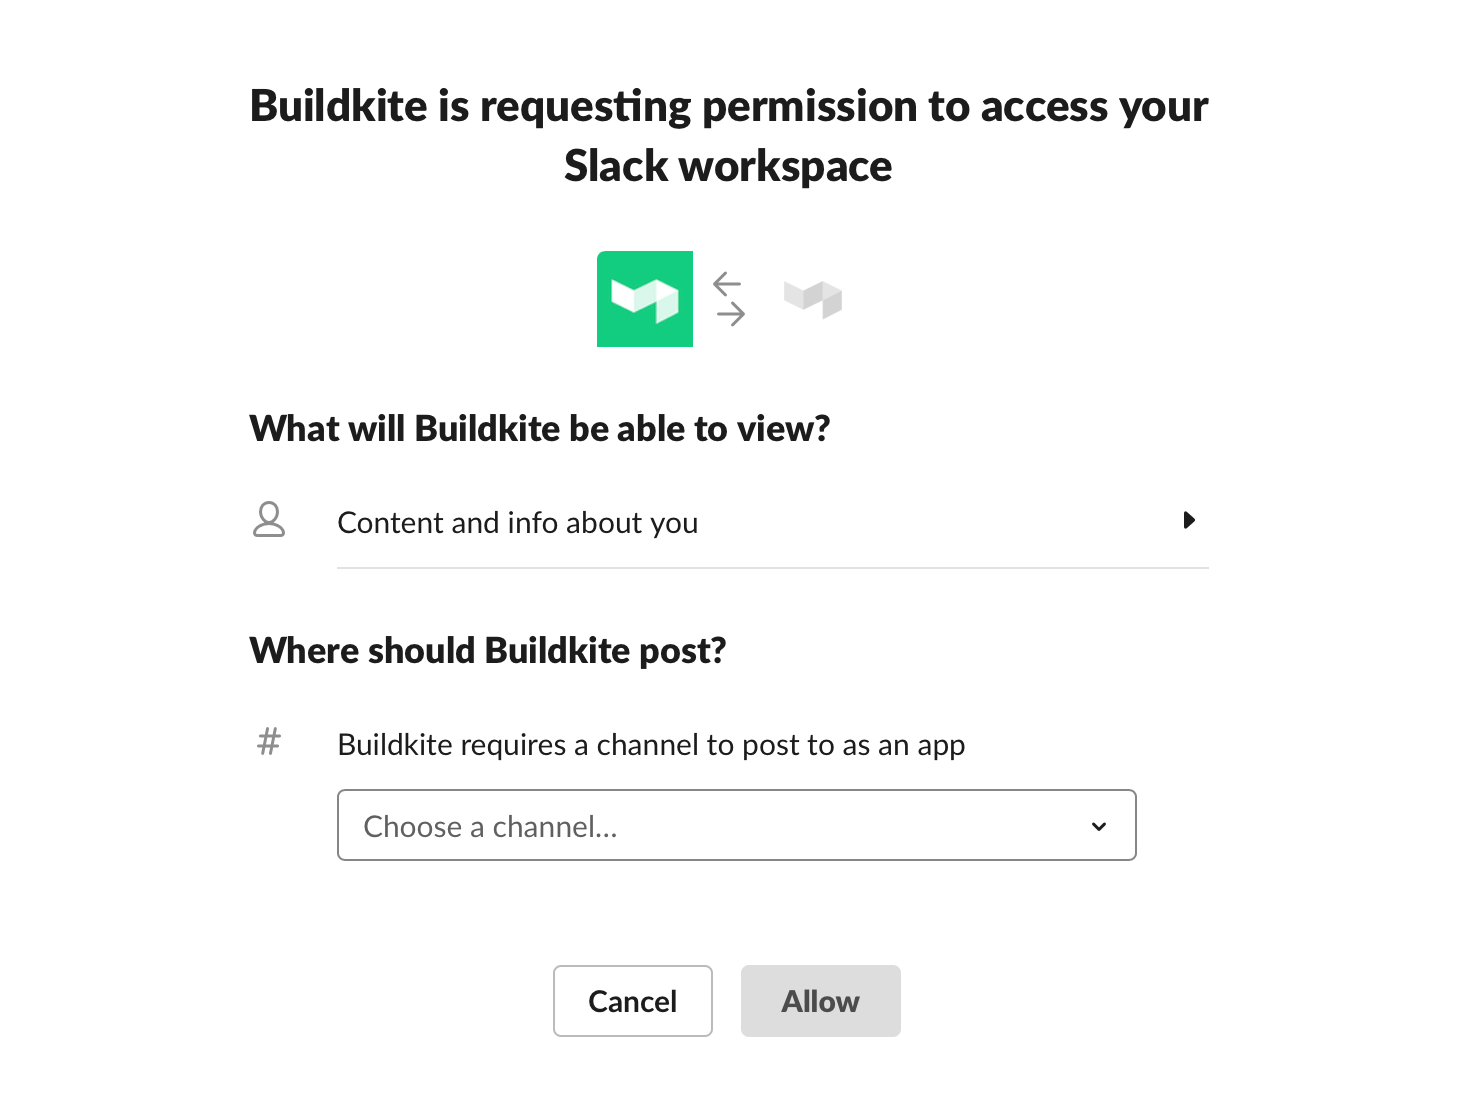
This will take you to Slack. Log in, choose a workspace, and grant Buildkite the ability to post in your chosen channel:

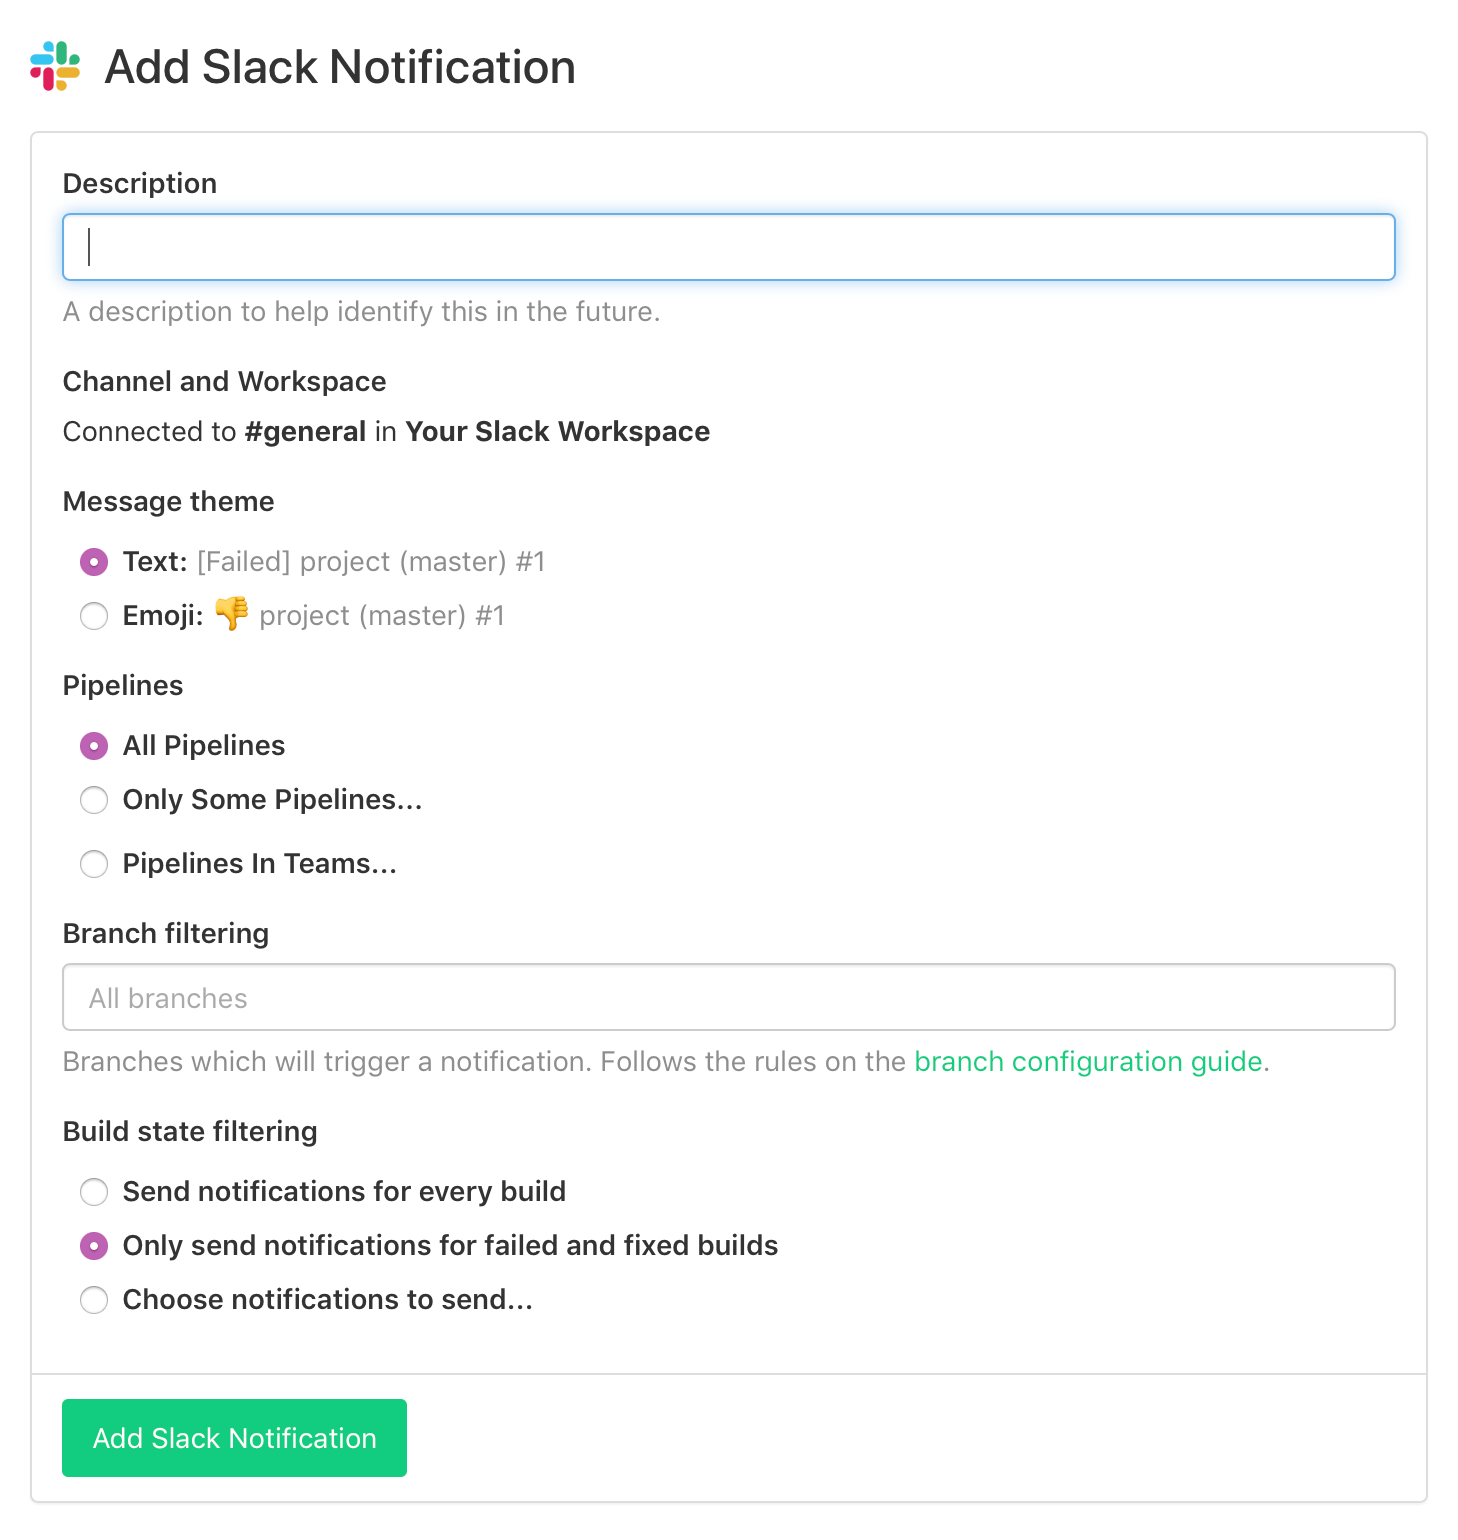
Once you have granted access to your Slack workspace, give it a description, choose how the notifications should display, and select the type of notifications you want to receive:

The default quota limit for the number of Slack notification services that can be added to an organization is 50. If you are an Enterprise customer and need higher quota limit, please reach out to support@buildkite.com.
With the configuration above, you'll receive notifications at the pipeline level but not on the outcomes of individual steps. The fixed builds option ensures you're notified when a failed build next passes.
To avoid duplicate notifications, if you're using the notify YAML attribute for more fine grained control over your Slack notifications, ensure you've selected the Only Some Pipelines... option and have excluded that pipeline from receiving the default notifications.
Changing channels
Once created, the Slack channel and workspace cannot be changed. To post to a different channel or workspace, create a new notification service.
Conditional notifications
By default, notifications are sent to all configured Slack channels. For more control over when each channel receives notifications, use the notify YAML attribute in your pipeline.yml file.
See the Slack channel message section of the Notifications guide for the configuration information.
Upgrading a legacy Slack service
Slack stopped accepting notifications from legacy Buildkite services on January 10th, 2020.
If you have Slack set up with a legacy service or are no longer receiving notifications, add a new Slack notification service in your Buildkite organization's Notification Settings.
Identify where your existing services post notifications
Compare the webhook URLs from your Buildkite notification service with your Slack integration to find your existing notification settings.
Finding your Buildkite webhook URL: Click on the Slack notification service in Buildkite, the webhook URL will be listed here.
Finding your Slack integration's webhook URL:
- In your Slack workspace's App Directory, click the Manage button and find the Buildkite app.
- Click through the Buildkite app, then click the pencil button to edit your configuration.
- The webhook URL will be listed under Integration Settings.
Confirm which pipelines, and which events, are posted
Once you've found the matching Buildkite service and Slack app, confirm where and what you're posting to Slack. Take note of the events and pipelines so that you can set up a new notification service.
Create a new Slack notification service which posts
Using the instructions above, add a new Buildkite notification service with the same settings as the legacy integration.